

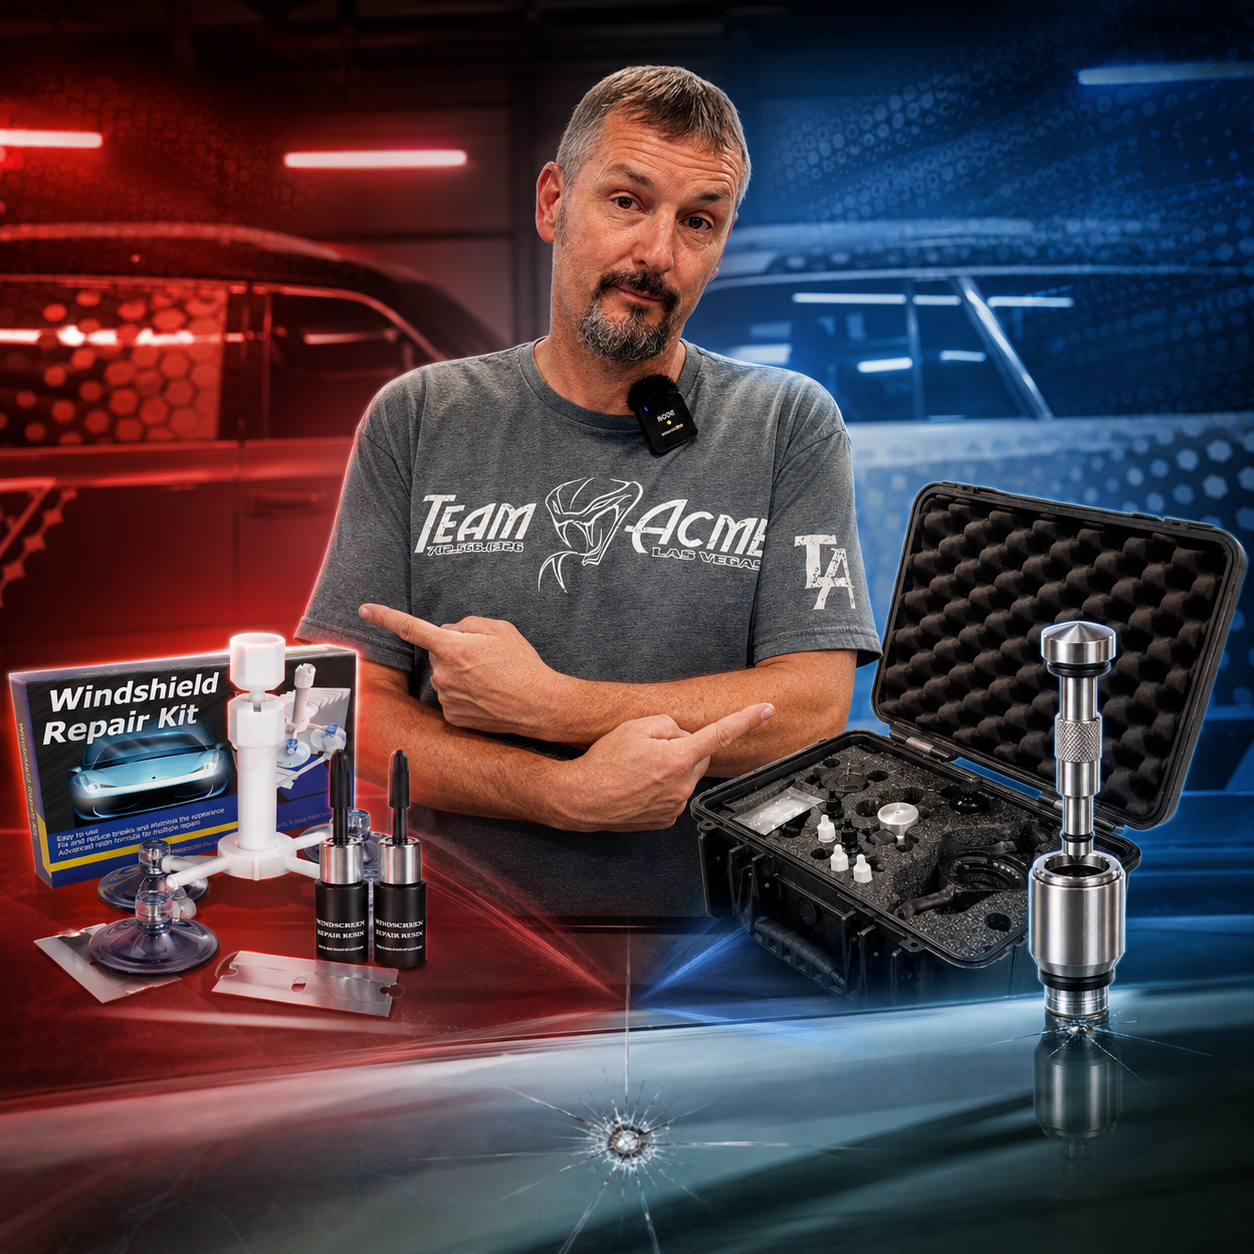
Cheap windshield repair kits can work on some rock chips, but our test found that the tool and the resin shouldn't necessarily be judged together. The inexpensive injector moved resin into the damaged glass better than expected, while the included resin raised more questions and professional repair resin performed noticeably better in the same basic tool.
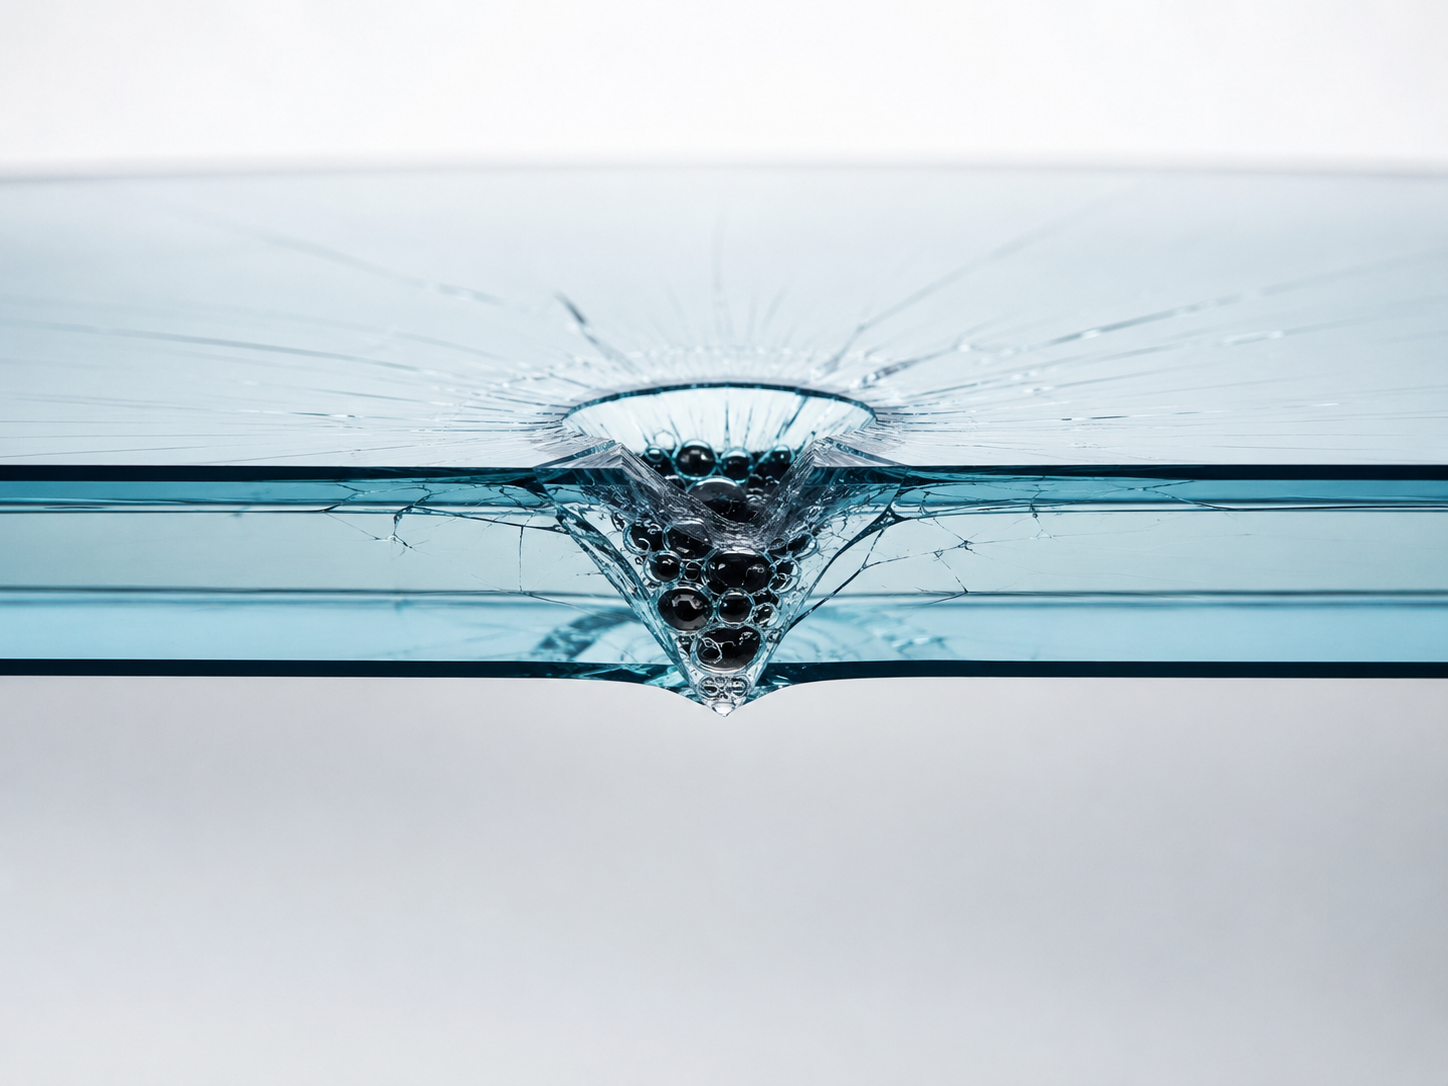
A windshield repair kit works by removing or displacing trapped air inside damaged glass, filling the break with repair resin, and curing that resin so it hardens. The basic process is to clean the damage, center the injector, add resin, apply pressure, check the break for remaining air, cover the repair, and cure the resin.
When you look at a fresh rock chip and see dark or black areas inside the break, much of what you're seeing is trapped air. In our video, we explain the process simply: the goal is to get repair resin into those spaces and get the air out.
That basic principle is also consistent with the industry definition of laminated auto glass repair, which describes removing or displacing air, injecting curable resin, properly curing the repair, and finishing the pit.
For a simple windshield repair kit, the process generally looks like this:
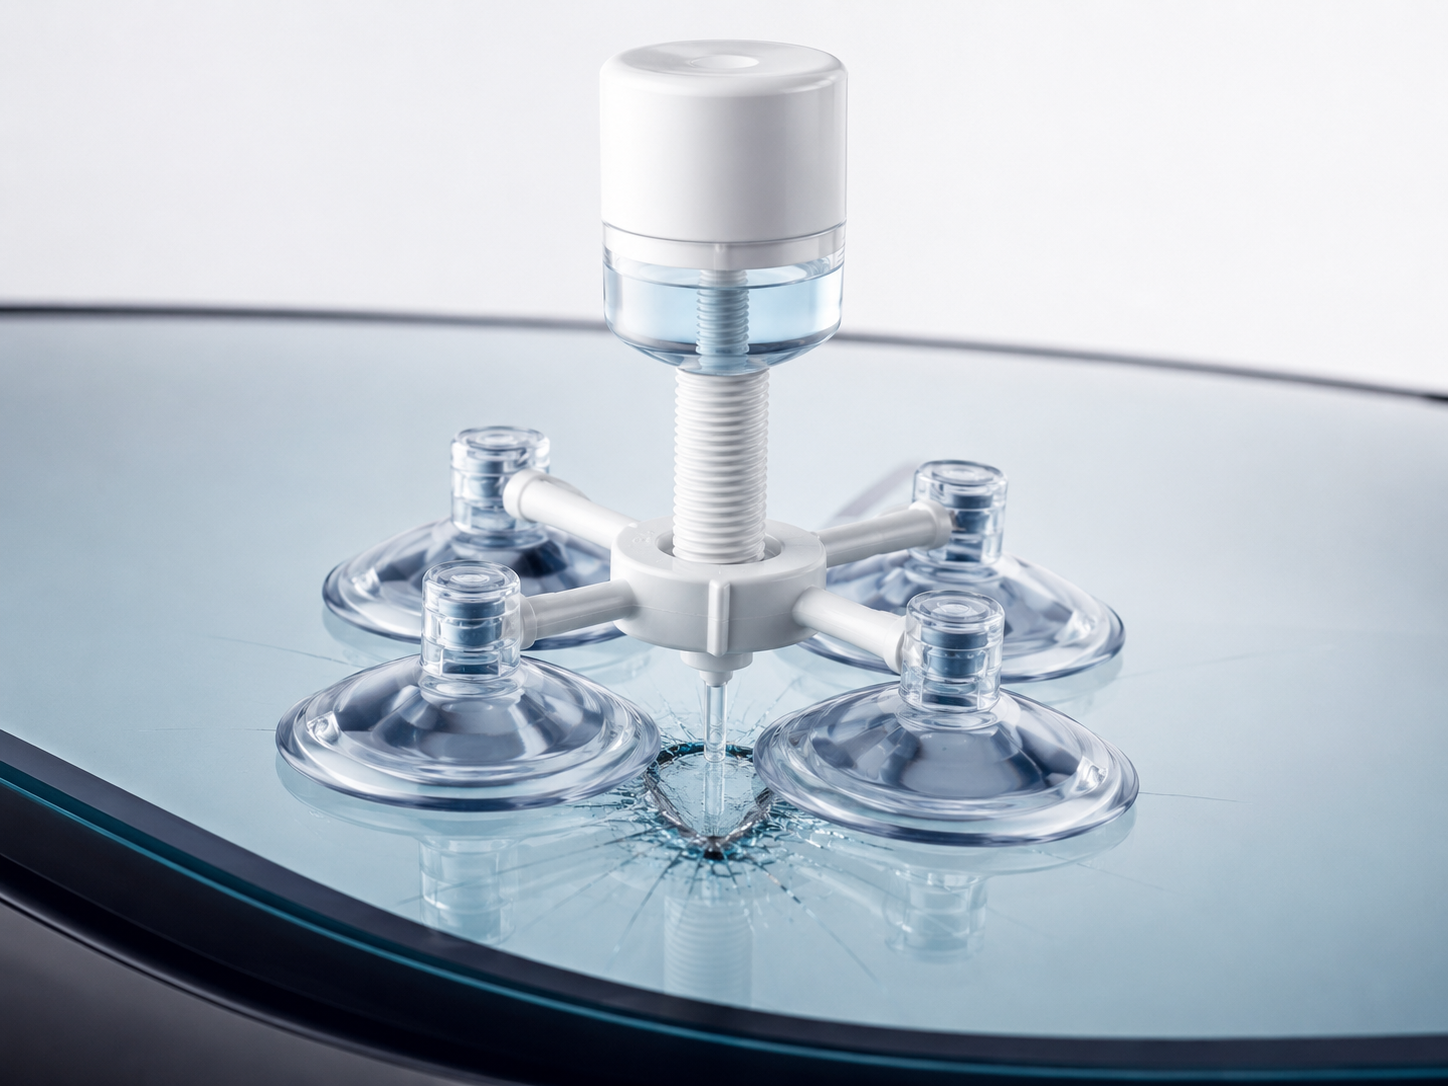
The inexpensive windshield repair kit we tested used a basic plastic fixture and plunger. Once centered over the chip, the plunger applied pressure to push resin into the break.
Our professional windshield repair equipment adds more control by alternating between vacuum and pressure. Vacuum helps pull trapped air out of the damaged glass, while pressure pushes repair resin back into those spaces.
The cheap tool gave us very little pressure feedback, which initially made us question how well it was working. Surprisingly, the resin still moved into the fresh cracks better than we expected.
The kit called for about 3–4 drops of resin. Because the breaks we created for the test were larger than a typical rock chip, we used more. Always follow the instructions for the specific windshield repair kit you're using.
The resin was UV-cured. We used our shop's UV light, but this type of windshield repair resin can also cure in direct sunlight.
The key isn't pressure by itself. The goal is to replace trapped air with repair resin before the resin cures.
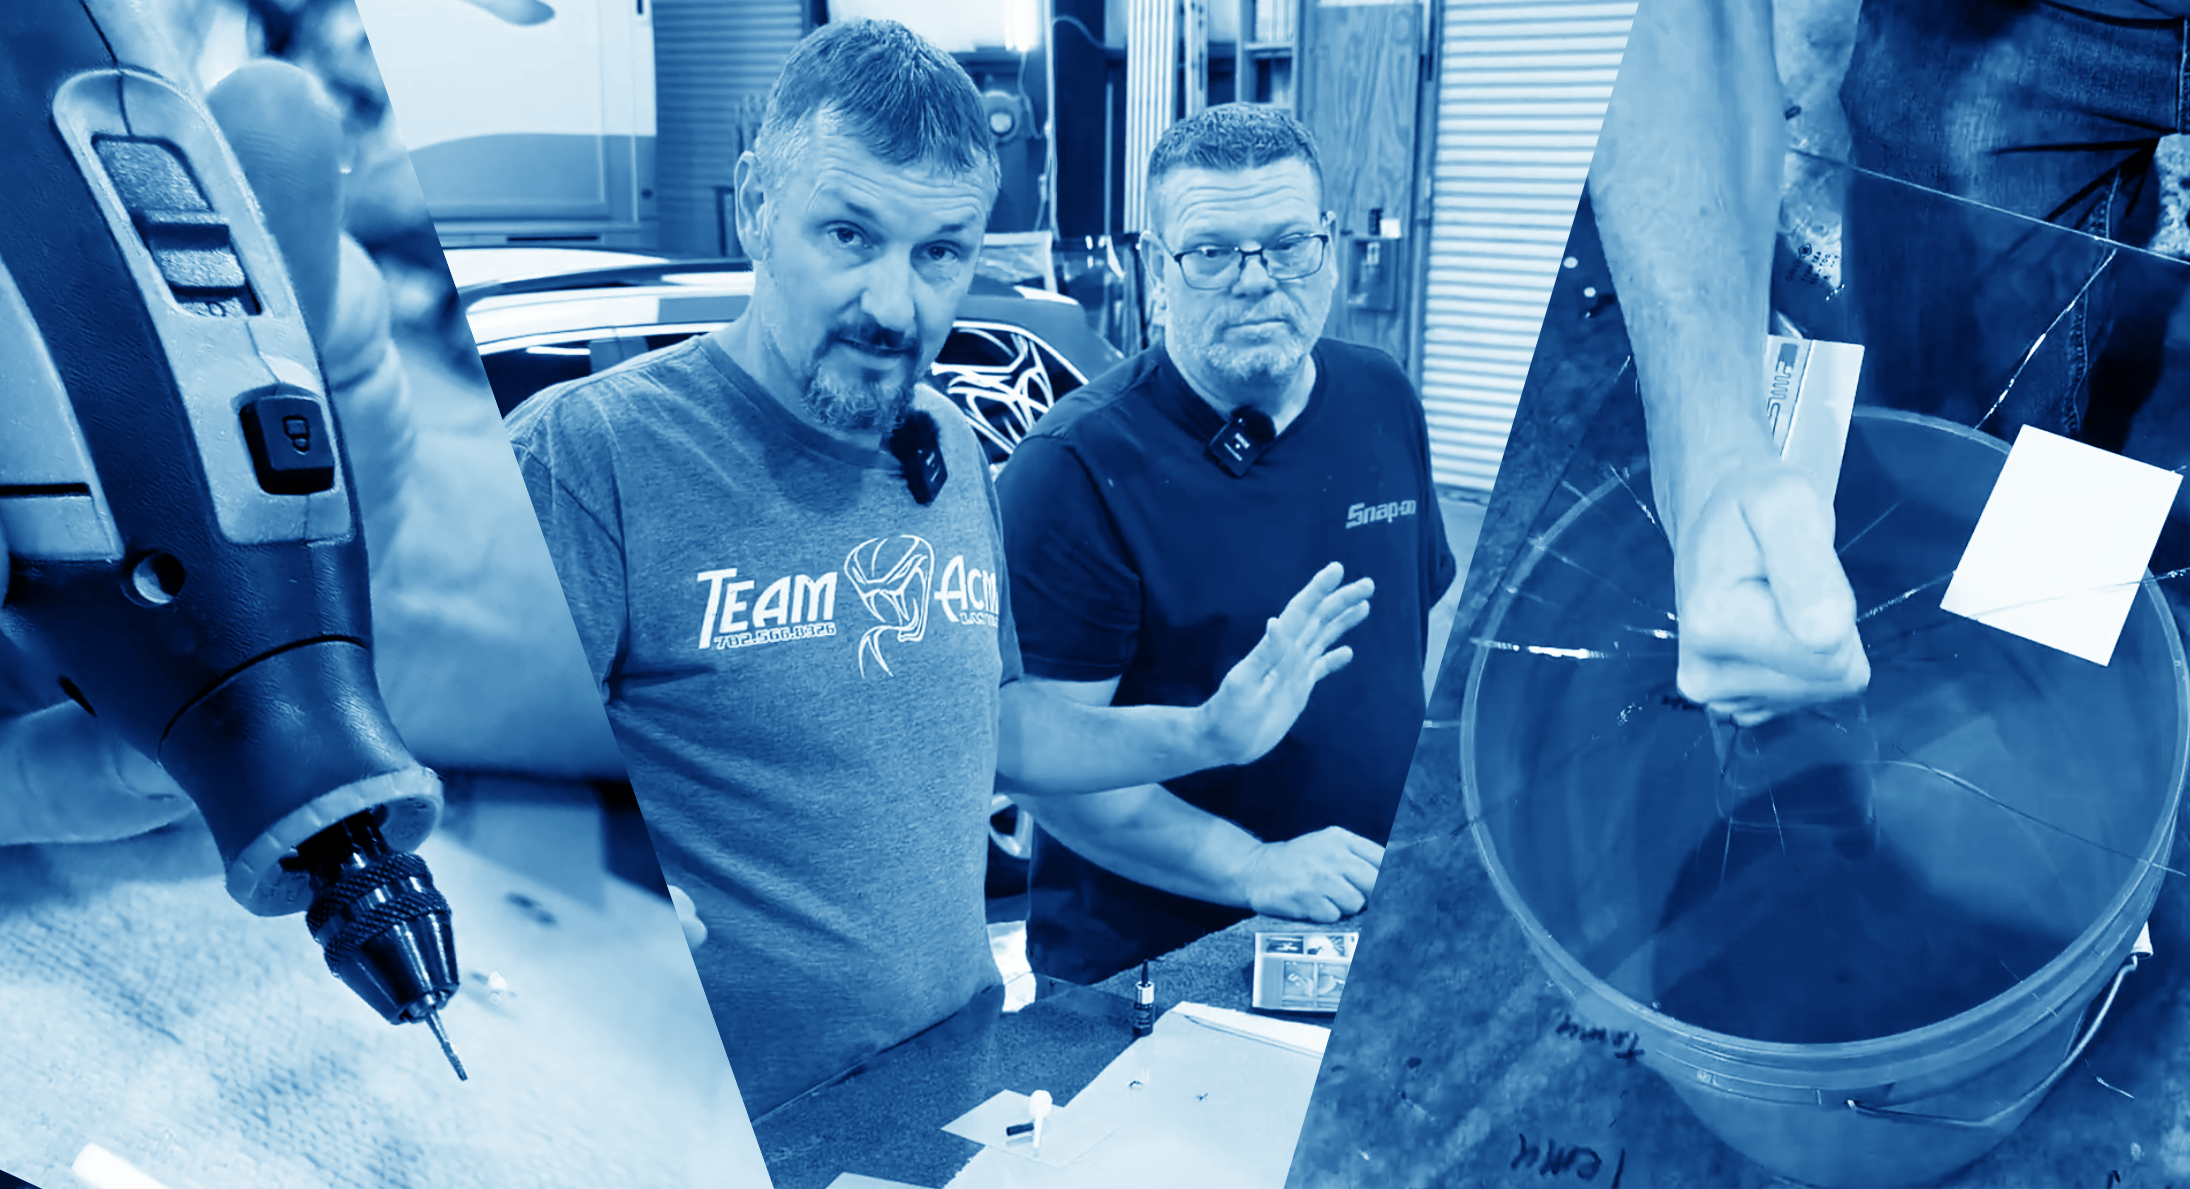
Yes. The inexpensive windshield repair tool worked considerably better than we expected. It felt lightweight and gave us far less control and feedback than professional equipment, but it still generated enough pressure to move resin into the damaged glass. The plastic injector itself was not the biggest problem we found during the test.
Going into this, we expected the tool to be the weak point.
It looked and felt cheap. At first we weren't even sure the fixture was assembled correctly because the injector didn't appear to reach the glass. After flipping the fixture around, it made much more sense and sealed surprisingly well.
Once we started injecting resin, the result surprised us again.
The inexpensive plunger didn't give us the same feedback our professional windshield repair equipment does. With professional equipment, we can control vacuum and pressure and watch how the seal and resin respond.
The cheap tool was basically: apply pressure and see what happens.
And yet, it worked.
It pushed resin into the cracks well enough that some of the repaired areas looked substantially better after curing.
That's an important result because it changed the question we were asking.
Instead of:
“Is this cheap plastic windshield repair tool useless?”
the bigger question became:
“How good is the resin that comes with it?”
Based on our test, yes. The resin appeared to matter at least as much as the injector. The resin supplied with the inexpensive kit did fill damaged areas, but we noticed differences in the way it cured and adhered. When we put our professional windshield repair resin through the inexpensive tool, the professional resin bonded to the glass noticeably better.
This was probably the biggest technical takeaway from the entire test.
When we removed the clear curing film from some of the first repairs, more of the inexpensive resin than expected wanted to remain attached to the film rather than the glass.
The repair still looked much better than the original damage, and portions of the break had filled successfully. So it would be unfair to say the included resin simply didn't work.
But its behavior got our attention.
We then put the professional resin we normally use into the same inexpensive injector.
That was useful because it separated the two variables.
We weren't comparing:
cheap tool + cheap resin
against:
professional tool + professional resin.
We were now using professional resin inside the inexpensive tool itself.
The difference in adhesion was obvious during the test. As we said while doing it, the professional resin stuck to the glass much better.
That doesn't prove that every consumer windshield resin is inferior. We tested one inexpensive kit.
It does show why we'd be careful about judging the quality of a windshield repair kit based only on whether the plastic injector can push fluid into the damage.
The tool may work while the resin becomes the bigger variable.
A windshield repair kit can improve some rock chips and small areas of windshield damage if resin can reach the break and properly fill it. However, not all windshield damage behaves the same way. Missing glass, inaccessible cracks, contamination, trapped air and the shape of the impact can all make windshield crack repair more difficult.
We saw this firsthand during the test.
Some of the damage we created had clear access to the break. Other areas behaved differently.
Auto glass technicians sometimes encounter damage where the glass has cracked internally but there isn't a good opening for the resin to enter. In professional rock chip repair, there are situations where we may carefully open the impact point so the resin can reach the damaged area.
That's obviously a different level of repair than simply placing a plastic injector over a chip and pressing a plunger.
We also created damage where an actual piece of glass was missing.
That brings up another limitation.
Repair resin can fill cracks underneath the surface, but it cannot recreate glass that is physically gone.
Professional windshield repair systems have additional materials and tools available for finishing the impact point and filling surface pits.
A basic DIY windshield repair kit may not give you those same options.
A successful windshield repair does not necessarily make the original damage invisible. Repair resin can fill and stabilize portions of the break, but the original impact point, missing glass and some lines or imperfections may remain visible. The main purpose of rock chip repair is to repair the damage, not make the windshield look factory-new again.
This matters because people often judge windshield chip repair entirely by appearance.
During our test, one impact removed a noticeable piece of glass.
Even after the underlying damage filled well, there was still a visible spot where the glass itself was missing.
That's normal physics: resin can't put the original piece of glass back.
Professional repair materials can help fill and finish the surface pit, but you may still be able to see where the windshield was hit.
So if you're trying a windshield repair kit yourself, don't assume that seeing a mark afterward automatically means the repair failed.
The better questions are whether the damaged areas filled, whether significant air remains trapped inside, and whether the repair is stable.
The main difference is control. A DIY windshield repair kit can sometimes move resin into a rock chip successfully, but professional repair gives the technician greater control over vacuum, pressure, resin selection, preparation, curing and surface finishing. Professional experience also becomes more valuable when the damage does not behave like a simple repair.
Here's the practical comparison from what we observed.
A DIY windshield repair kit gives you:
Professional windshield repair adds:
The inexpensive tool we tested proved that a simple injector can do more than we expected.
But professional equipment isn't expensive simply because it looks nicer.
It gives the technician more ways to control what is happening inside the damaged glass.
Our destructive stress test gave us mixed results. We intentionally struck the repaired areas to see how they reacted under additional impact. One repaired area propagated into a much larger crack, while another held. Because the results were inconsistent, our test does not prove that inexpensive windshield repair resin always fails—or always works.
This is where the experiment got especially interesting.
It would have made for a much simpler conclusion if every inexpensive repair shattered or if every repair survived.
That isn't what happened.
One area cracked badly after the impact.
Another repaired area did not.
That means we need to be careful with the conclusion.
This wasn't laboratory testing, and deliberately striking repaired glass with a punch is not the same thing as months or years of normal driving, temperature changes, vibration and car washes.
The stress test did, however, reinforce the uncertainty we already had about the resin.
The injector impressed us.
The included resin left us with more questions.
And the destructive test didn't give us enough evidence to turn that uncertainty into an absolute claim either way.
That's why our conclusion is more nuanced than “cheap windshield repair kits are bad.”
In practical terms, you should treat a windshield chip repair like you get one good shot. Once the resin cures, any air or unfilled portions left inside the break are no longer part of a fresh repair. That’s why it’s important to get as much air out and resin into the damage as possible before curing.
As we explain in the video, this applies whether you're using a cheap DIY windshield repair kit or professional equipment.
Once the resin cures, you don't simply get to start the same repair over from scratch.
That is one of the biggest risks of attempting a windshield chip repair yourself: you are learning the process on the same piece of glass you're trying to save.
So before you cure the resin, make sure you've followed the process as carefully as possible.
Our rule of thumb: treat the first attempt like your one good shot.
The best windshield repair kit isn't necessarily the one with the most complicated-looking injector. Based on our test, we'd pay close attention to the repair resin, how well the injector seals against the glass, whether it can move resin into the damage, the curing process, and whether the kit gives you the tools needed to properly prepare and finish the repair.
The biggest surprise in our experiment was that the cheap plastic tool wasn't automatically the weak link.
It worked.
So if you're comparing windshield repair kits, we'd look beyond the fixture itself.
Things worth considering include:
We'd also be cautious about treating any single test—including ours—as proof that one kit is the “best windshield repair kit” for every situation.
Different breaks behave differently.
Our result is most useful for understanding what parts of the kit actually mattered during a real-world test.
A DIY windshield repair kit can make sense if you're comfortable following the process and willing to accept the risk of doing the repair yourself. Professional rock chip repair makes more sense when you're unsure about the damage, the break is difficult to fill, a previous repair was attempted, or you simply don't want to experiment on your windshield.
There's nothing wrong with wanting to save money.
That was one reason this test was interesting in the first place.
At the time we filmed it, our shop charged around $85 for a typical rock chip repair, while the kit we tested cost roughly $30.
If someone is comfortable doing their own repairs, we understand why the DIY option is appealing.
But professional repair isn't just paying somebody to squeeze resin into glass.
You're paying for someone who has repaired a lot of windshield damage before and can recognize when the repair isn't going normally.
If you're in Henderson or the Las Vegas area and would rather have the damage handled professionally, Team Acme offers professional rock chip repair in Henderson and Las Vegas.
Yes, under the right circumstances we'd consider trying one. The inexpensive injector worked much better than we expected, and the experiment made us more confident that a basic windshield repair kit can move resin into some rock chips. Our biggest hesitation was the supplied resin, especially after seeing professional resin behave differently in the same inexpensive tool.
That's probably not the answer people expect from an auto glass shop.
It would be easy for us to say:
“DIY windshield repair kits are garbage. Bring every rock chip to a professional.”
Our test didn't support that.
The tool actually worked surprisingly well.
Some of the repairs looked substantially better afterward.
The professional resin clearly impressed us more when we cross-tested it.
And when we intentionally stress-tested the repairs, one failed while another held.
So our conclusion isn't that a $30 windshield repair kit replaces professional windshield repair.
It's also not that inexpensive kits are useless.
It's this:
A cheap windshield repair kit may be worth trying for the right person and the right damage, but understand how the repair works before you cure resin inside a windshield you're trying to save.
FEATURED
Not every rock chip means you need a new windshield. Small, fresh chips that haven’t started spreading and aren’t near the windshield edge or directly in the driver’s line of sight are often good candidates for rock chip repair. Longer or spreading cracks, edge damage, spider cracks, and damage in a critical viewing area may require windshield replacement instead. The size, location, depth, and condition of the damage all matter. If you’re not sure, Team Acme can inspect the windshield and tell you whether repair or replacement is the better option before the damage gets worse.
Yes. A poor DIY repair can leave trapped air, contamination or improperly cured resin inside the break, and the crack may still continue spreading. Once resin has cured inside the damaged glass, correcting the repair can also become more difficult. That is why understanding the process before curing the resin is important.
Curing time depends on the specific resin, the amount of UV exposure and the manufacturer's instructions. Many windshield repair resins can cure in direct sunlight, but curing time varies considerably between products and conditions. Always follow the directions supplied with the repair resin rather than using one universal curing time.
For a DIY windshield repair, treat the first repair like your one good shot. Once resin cures inside the break, you cannot simply return the damaged glass to its original fresh condition and start over. A professional can inspect a previously repaired chip, but you should not assume a failed repair can simply be removed and restarted.
DIY windshield repair kits are generally better suited to small chips and limited damage than long, spreading cracks. Some short cracks may be candidates for repair, but long cracks, edge damage, spider cracks and damage in the driver's main viewing area may require professional evaluation or windshield replacement.
Dark or black areas inside a fresh windshield chip are often trapped air within the damaged glass. During windshield repair, the goal is to replace as much of that trapped air as possible with repair resin before curing. In our test, the dark areas helped us see which portions of the break had not completely filled.
680 Professional Ave, Henderson, NV 89015
Store Hours:
Monday-Friday
8am-5pm


